AN INTRODUCTION TO
PERSPECTIVE
Many artists skip learning perspective well, because they think it’s only for drawing buildings or landscapes. But in reality, every single thing you’ll draw needs to benefit from the right perspective.
Even complex forms, like human anatomy, need to be planned out using shapes that all match the same perspective. Trying to draw without learning perspective is like trying to play the piano without knowing where the notes are. You can do it, but don’t be shocked when people run away!
EVERYTHING STARTS WITH SIMPLE SHAPES
You need to learn the letters of an alphabet before you can start creating words. Once you learn words you can create a story.
The good news is that drawing only has three basic “letters”: Sphere, Cube, and Cylinder. From there you can make others “words” like: Egg, Frustum, and Cone. And with only six shapes you can create any “story”.
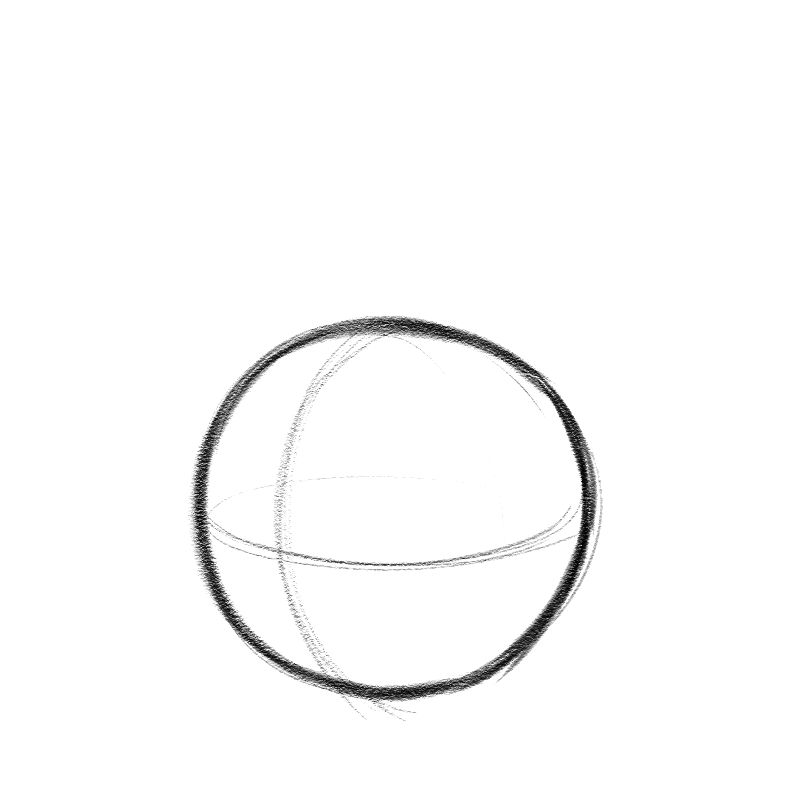
Sphere
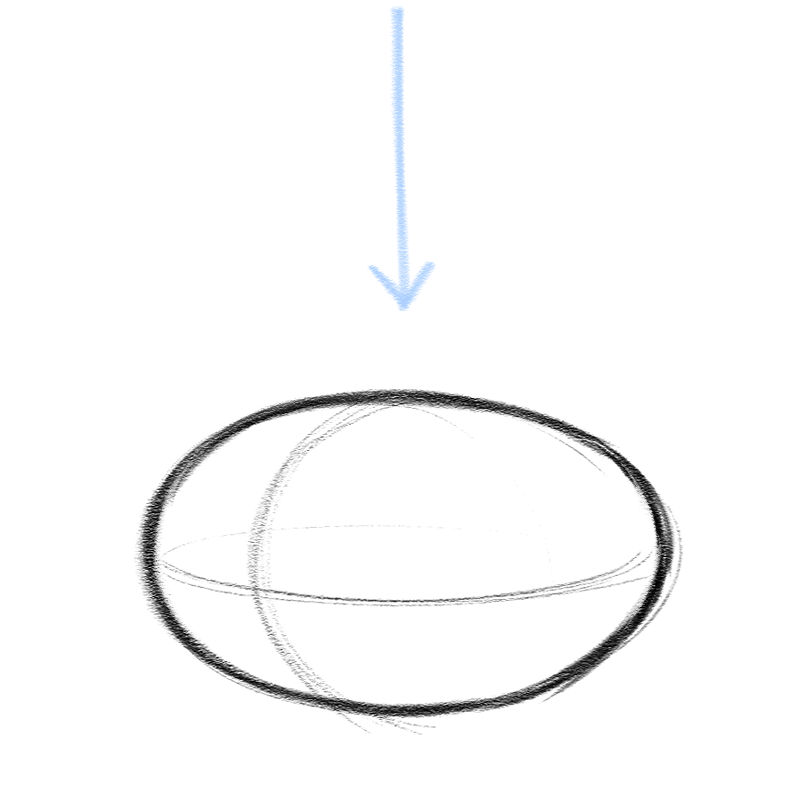
Egg
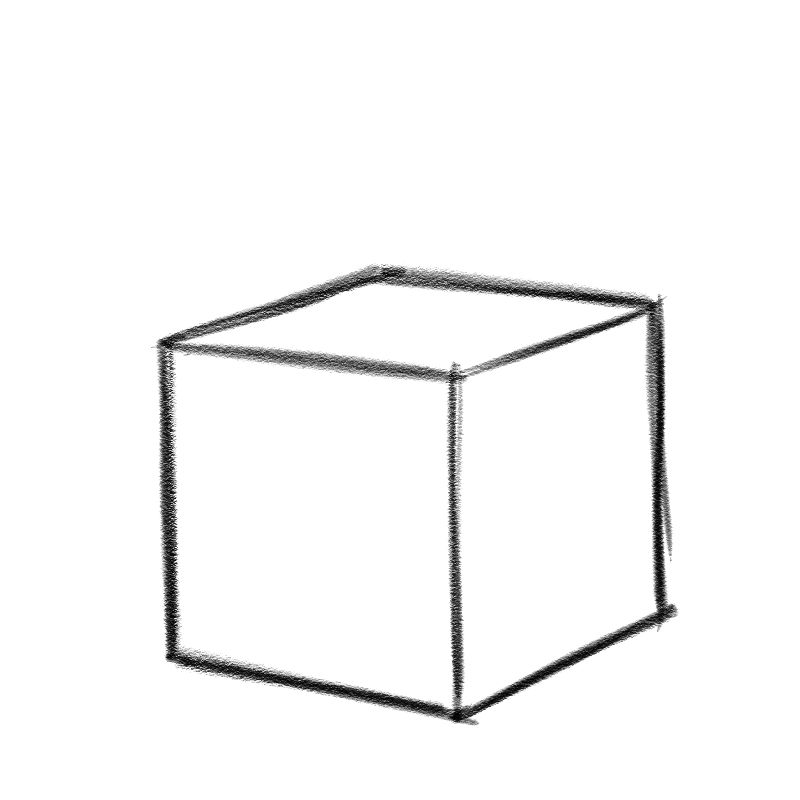
Cube
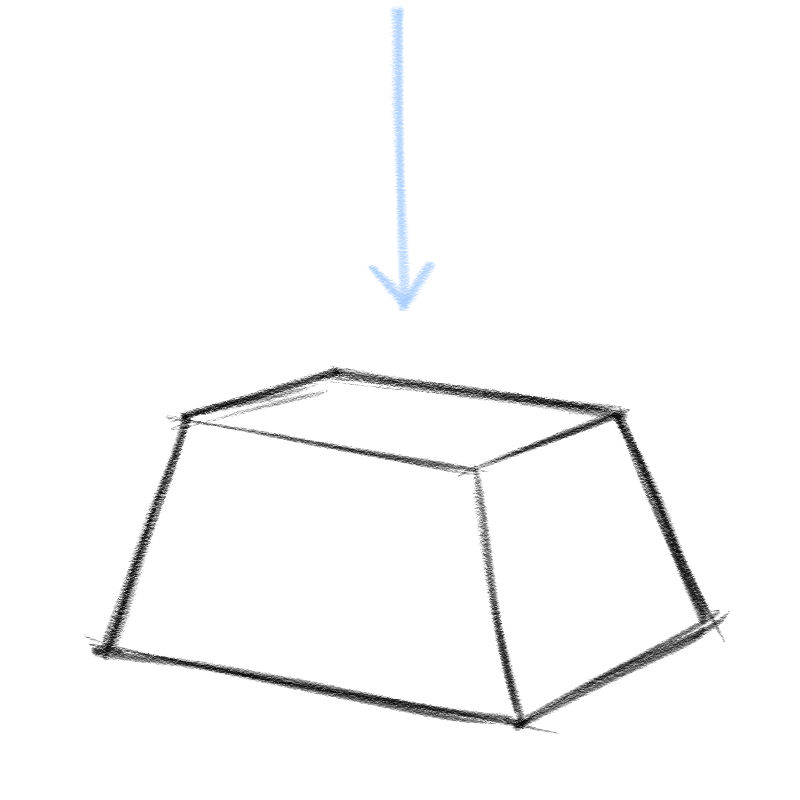
Frustum
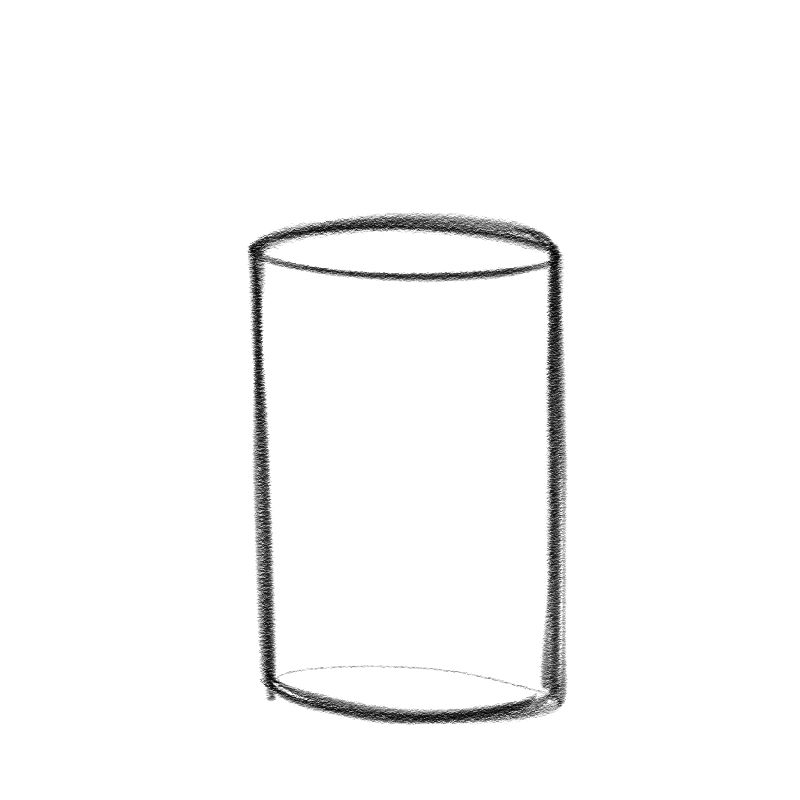
Cylinder
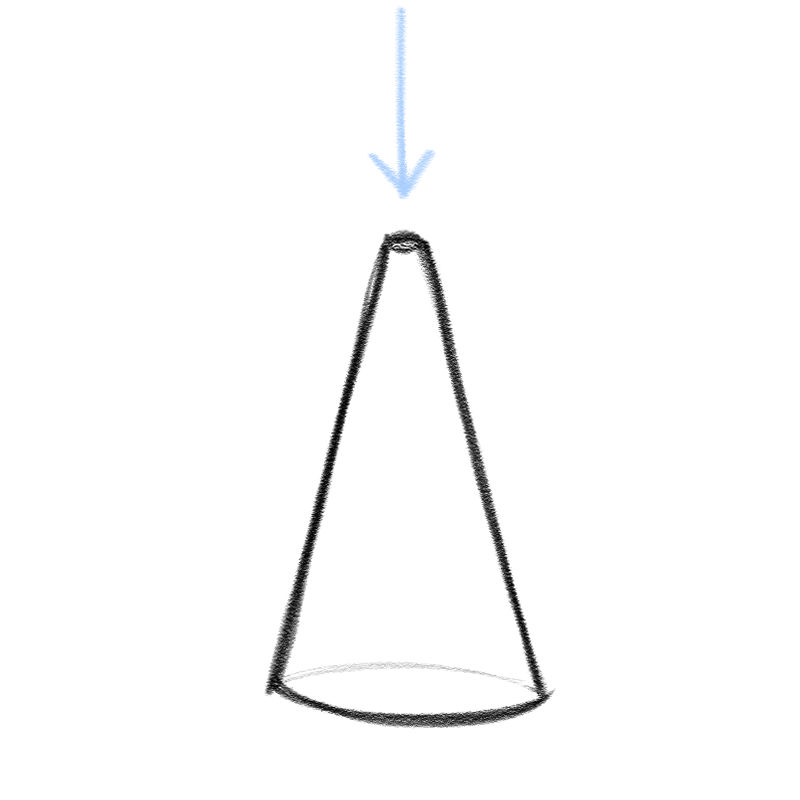
Cone
Look how much story we can tell just using a combination of these six shapes drawn in perspective!
Normal Rockwell, Facts of Life
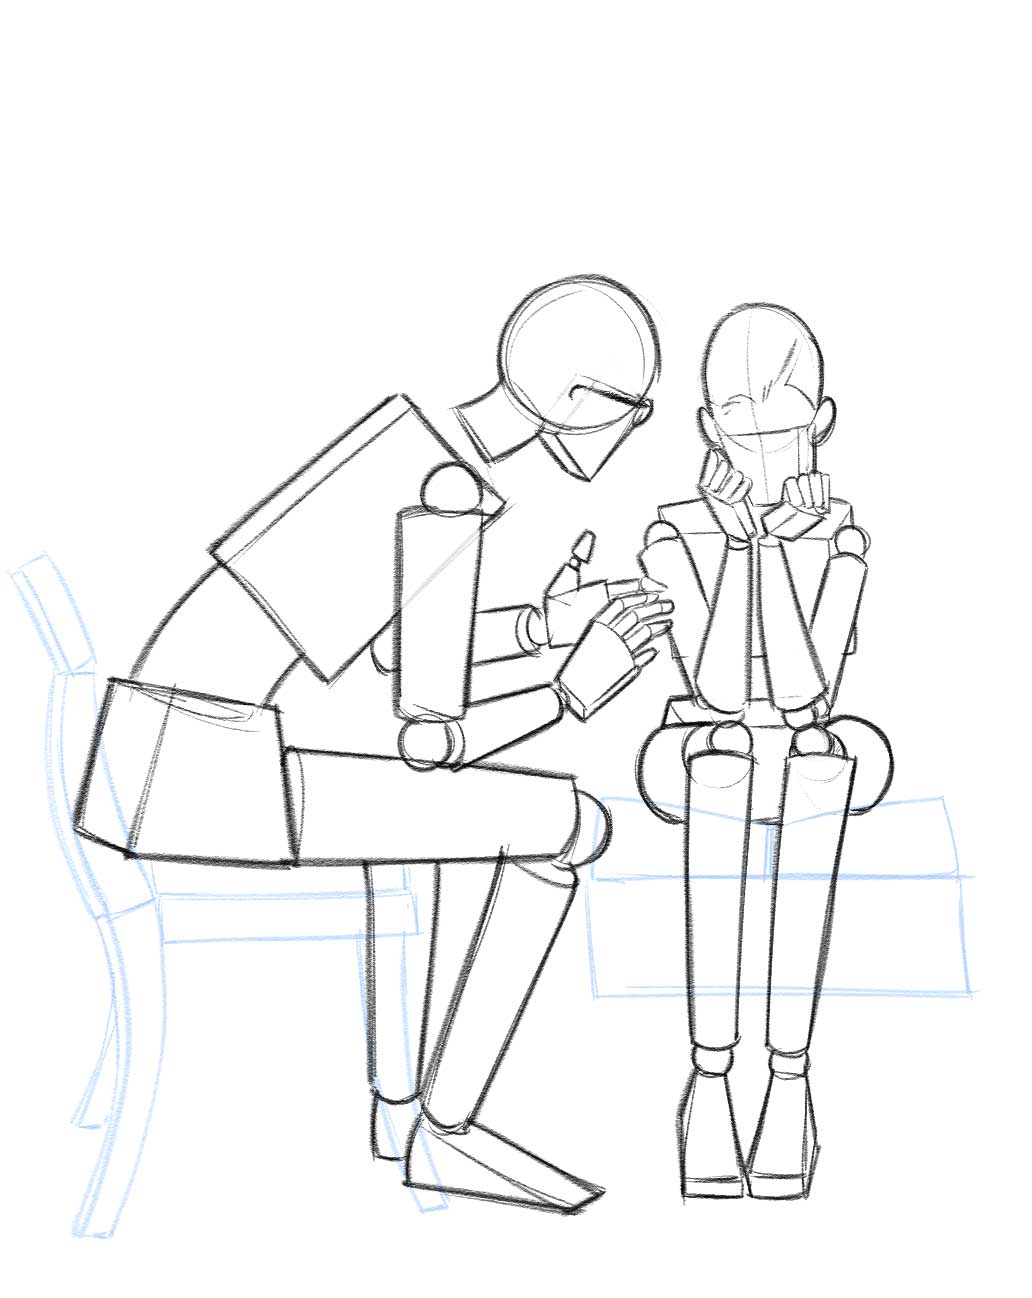
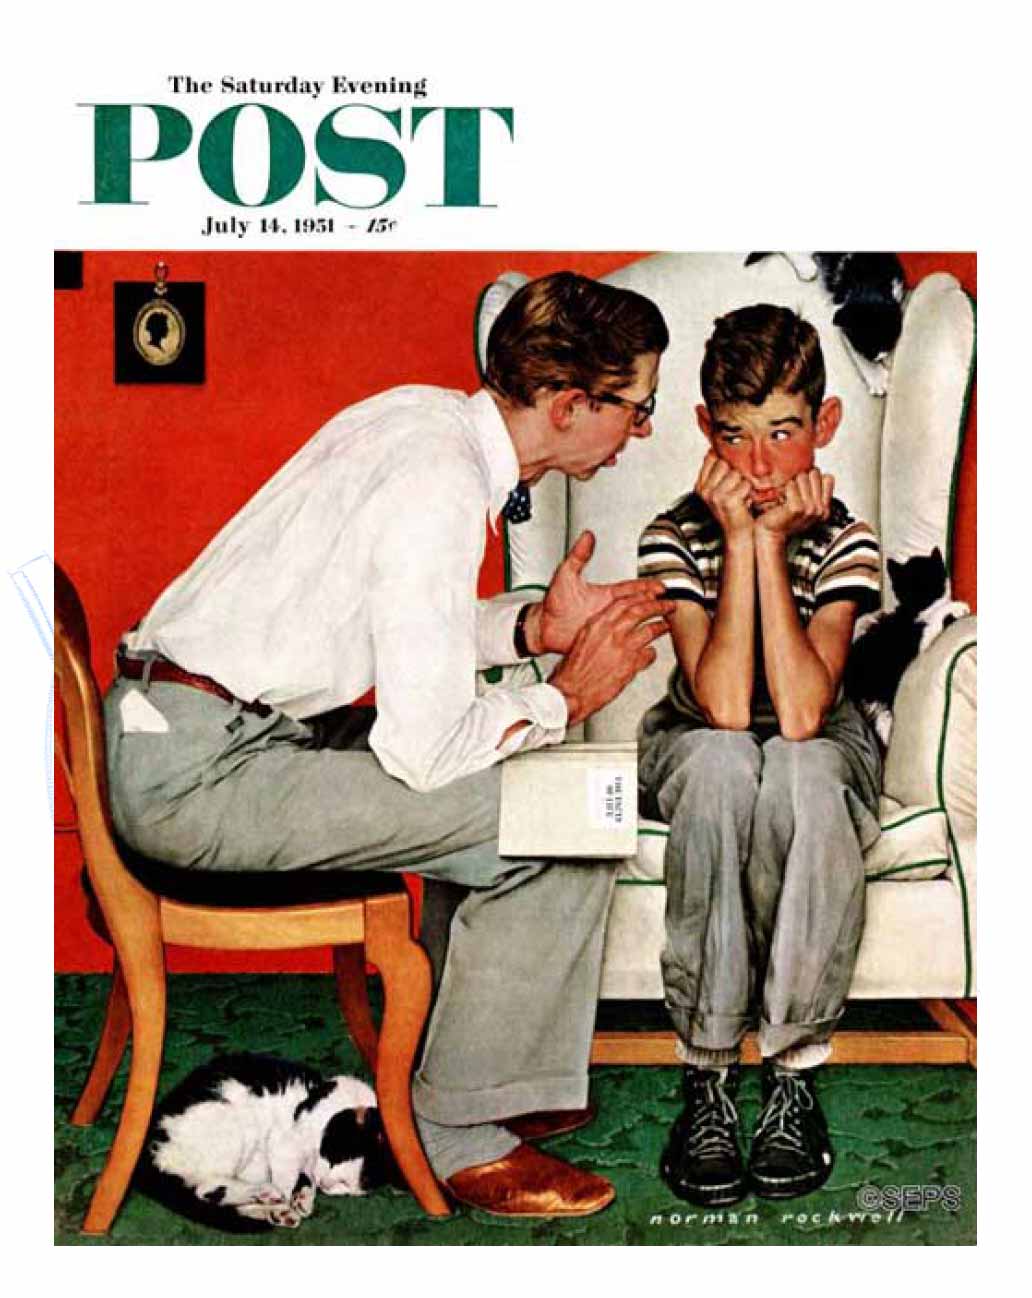
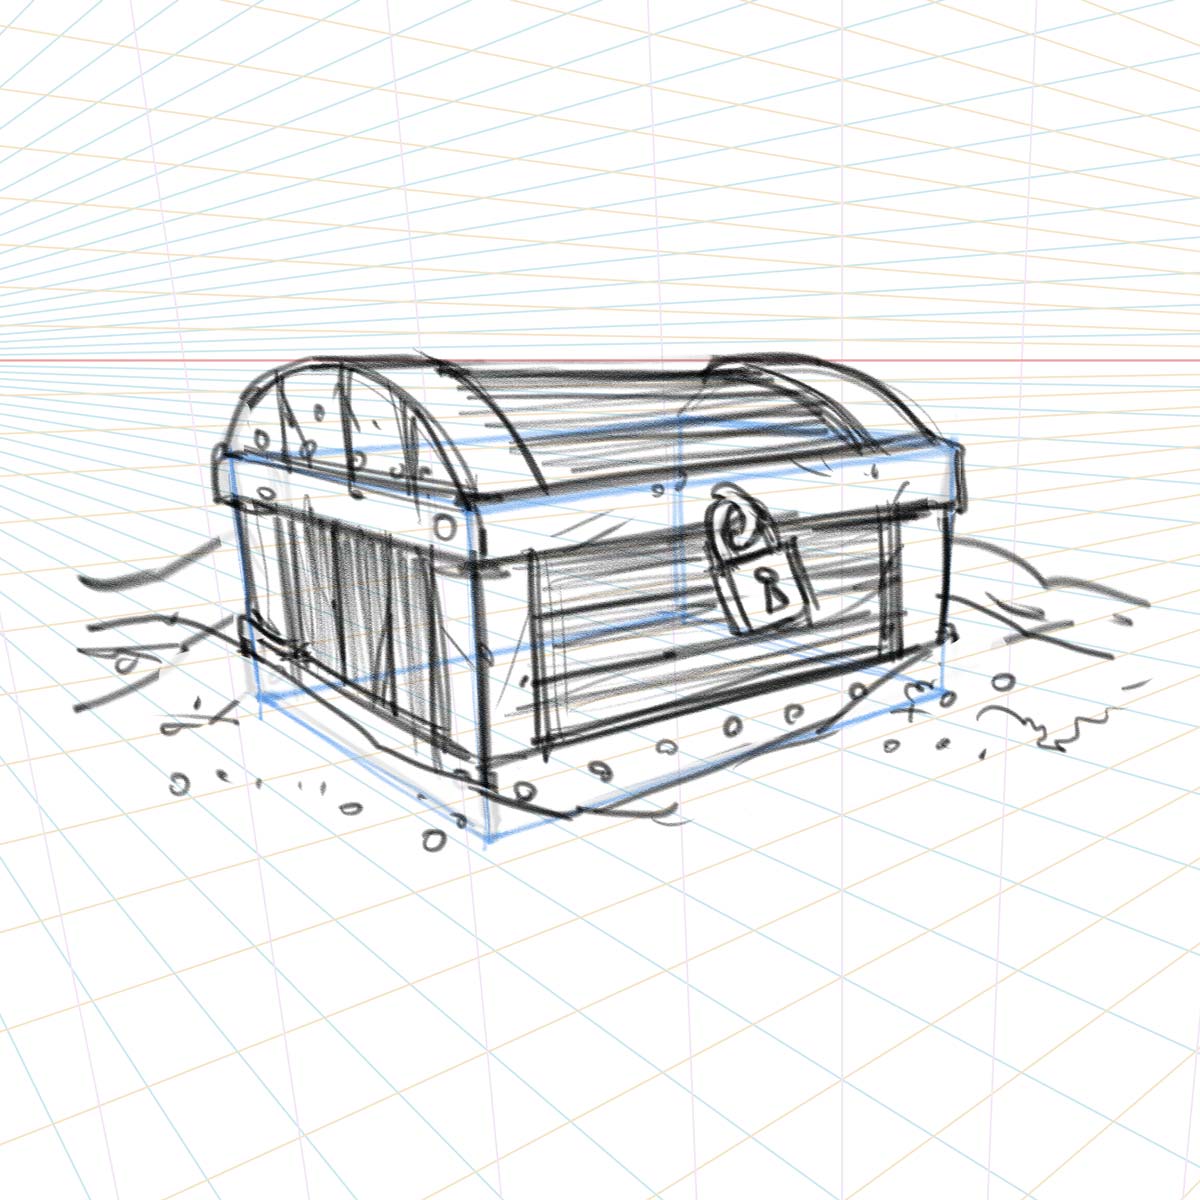
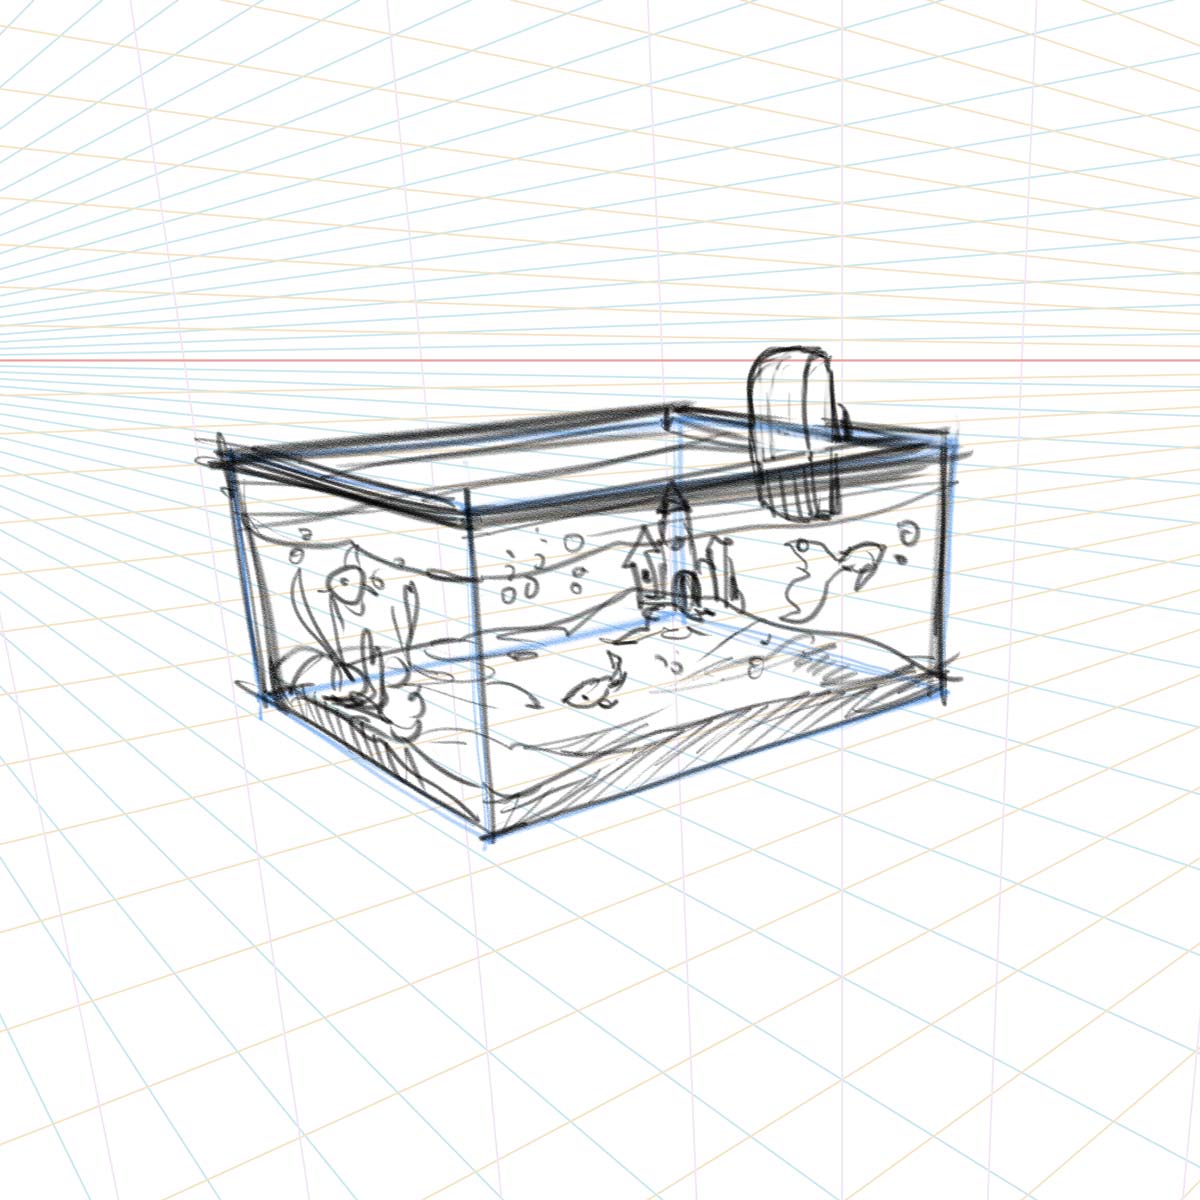
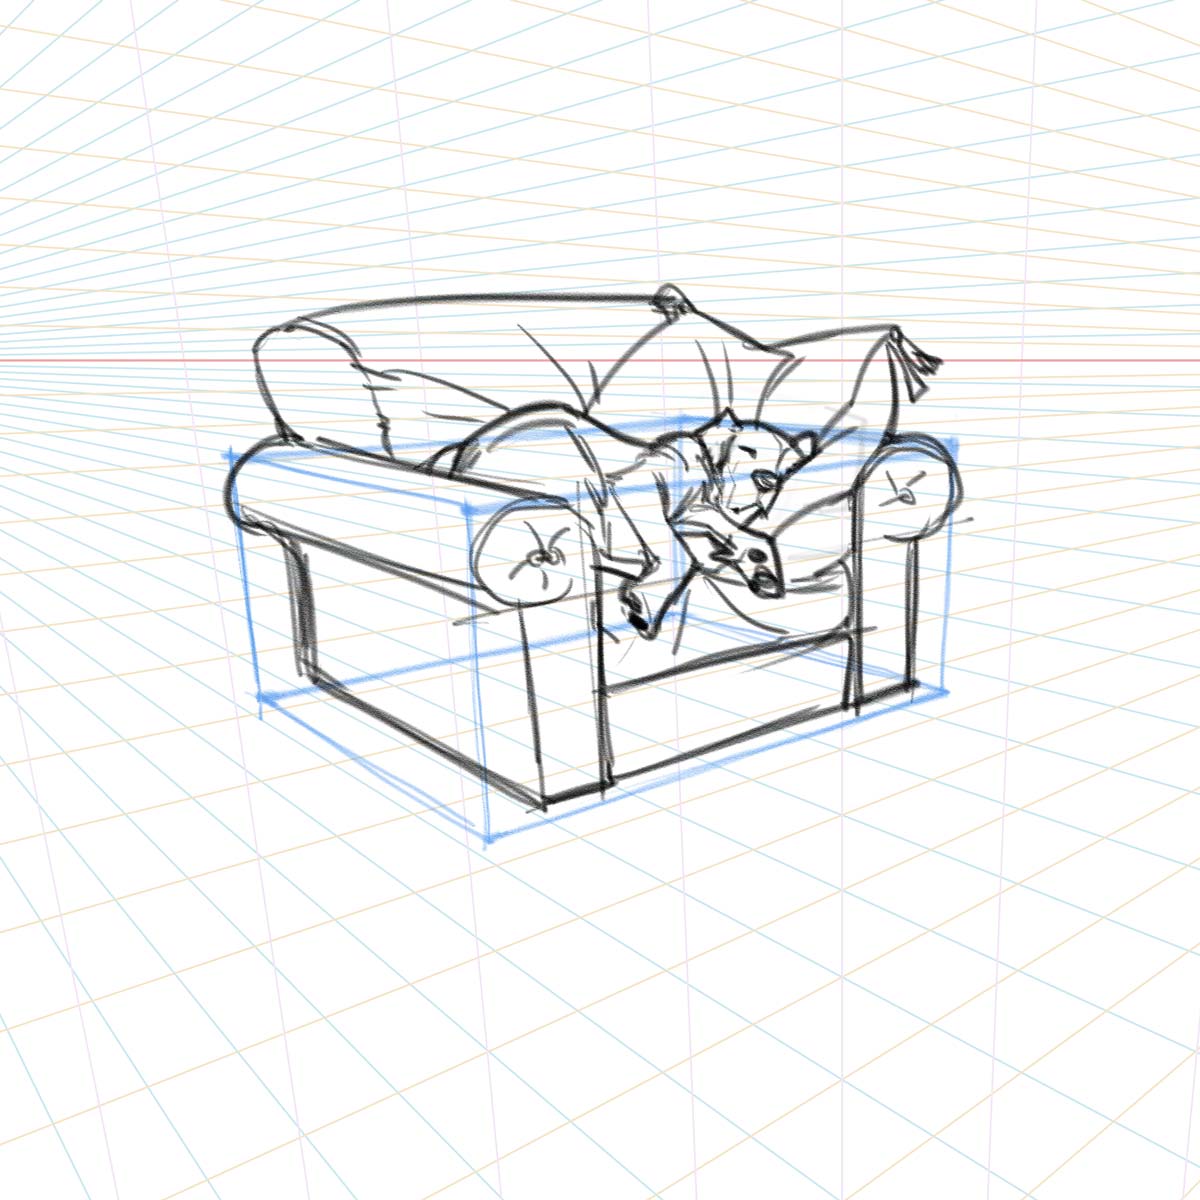
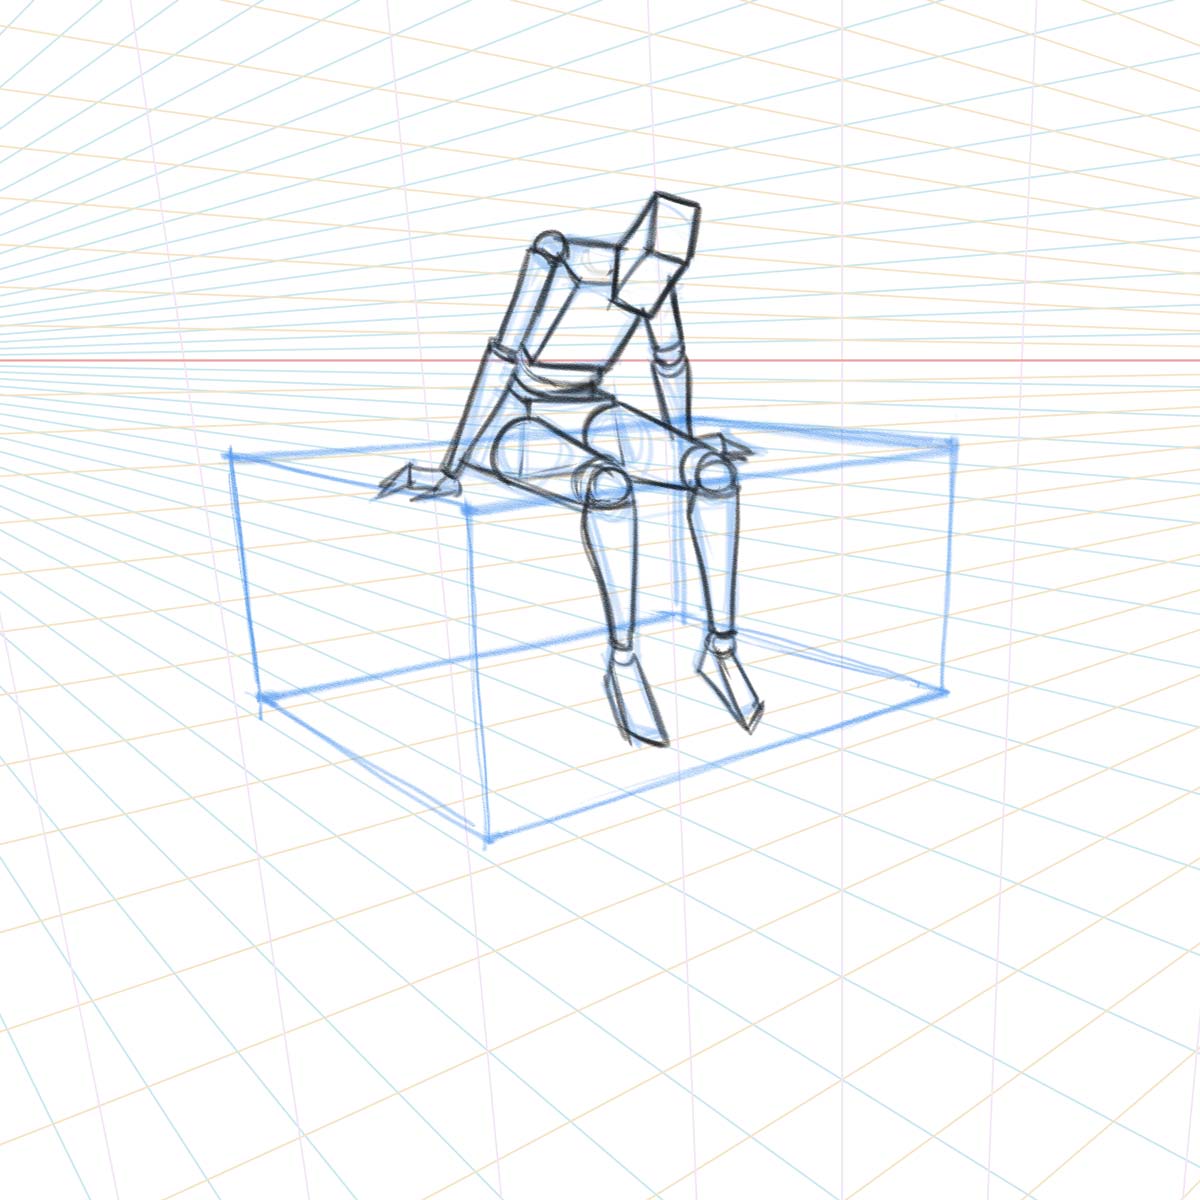
Primitive shapes can also be used as a “cage” to ensure that more complex drawings maintain the correct perspective.
LeARN PERSPECTIVE BASICS
You can spend 40 hours on YouTube watching random tutorials about perspective. Or you can spend $20 and learn the fundamentals from Matt Kohr. (Worth it.)
Perspective Sketching 1: The Basics
$10 – 60 min.
Perspective Sketching 2: Form and Design
$10 – 57 min.
Bird’s eye view
Worm’s eye view
WHERE TO PUT THE HORIZON LINE
It’s important to remember that the position of the horizon line does not depend on elevation, but the forward or backward tilt of the camera (or put simply: whether you are looking up or looking down). The first thing you need to do is imagine yourself in the scene and determine where you are looking on the vertical plane. Then follow three simple rules:
1. If you are looking straight ahead, the horizon line will always be in the vertical center of the composition. That means that no matter how “high” you are in the scene (for both a street level scene and a scene looking out an airplane window), the horizon line will be in the center if you are looking straight ahead.
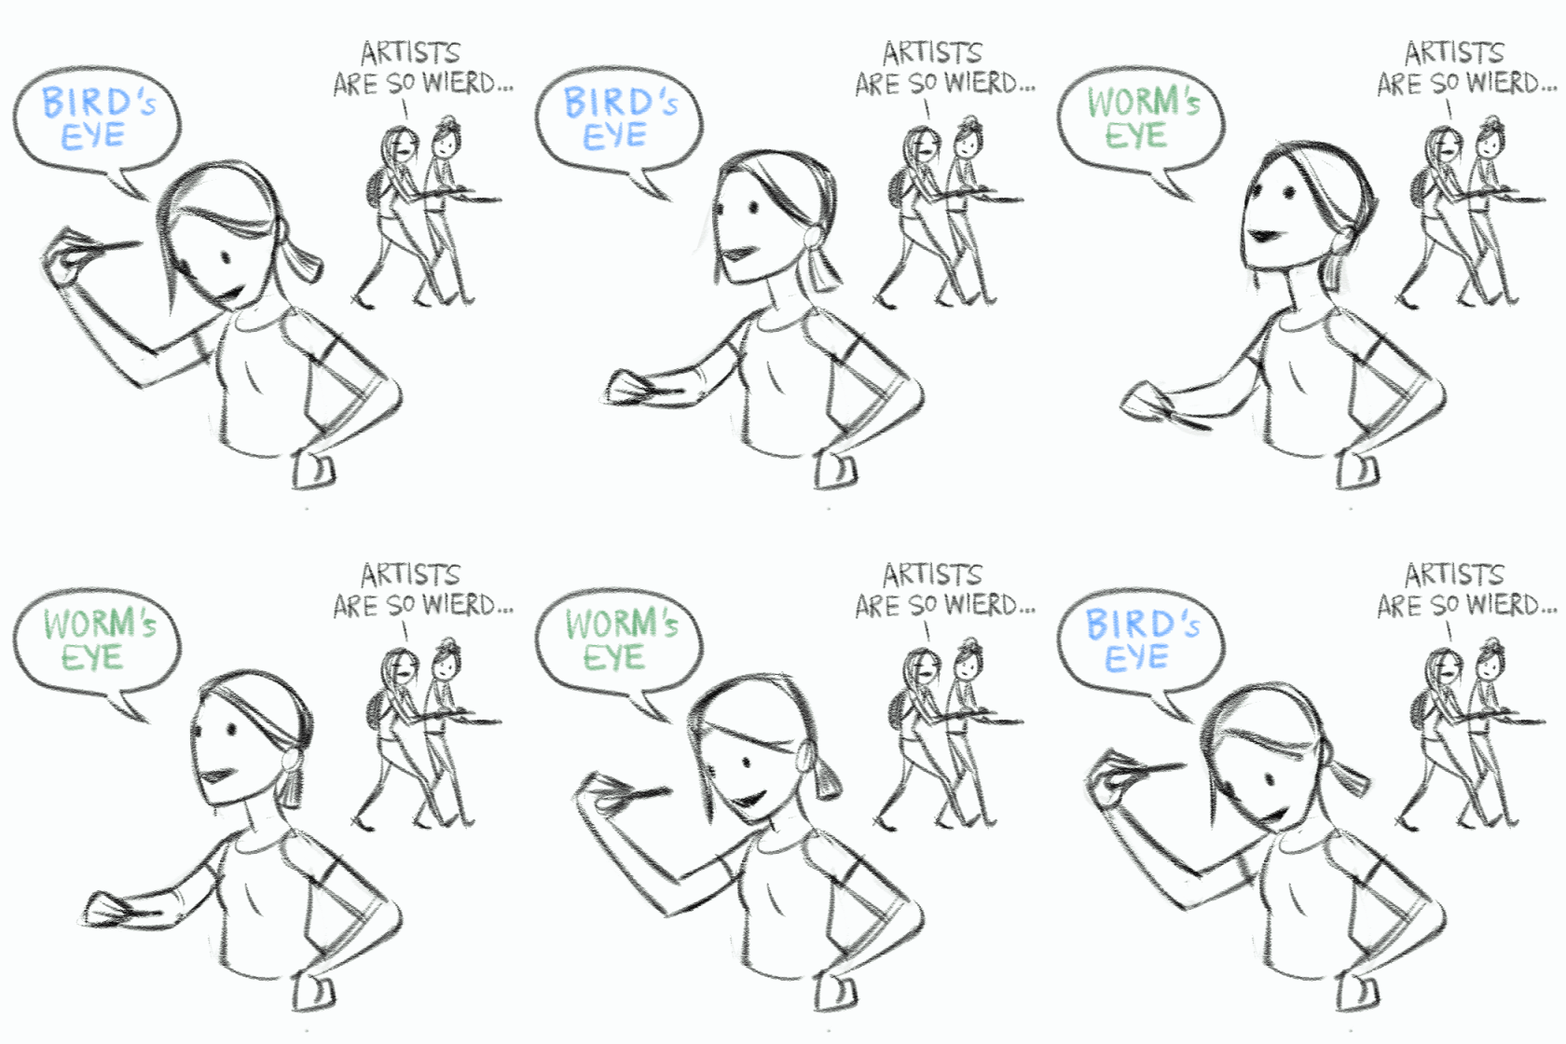
2. If you are looking up (“worm’s eye view”), then the horizon line goes down the page.
3. If you are looking down (“bird’s eye view”), then the horizon line goes up the page.
In the example below, drag the image image up and down to shift from looking “straight ahead” to “looking up” and “looking down”. Both the street rat (on the left) and the airplane passenger (on the right) are able to have a “bird’s eye” and “worm’s eye” view of their individual environment, even though their elevation from the ground is miles apart!
PRACTICE THIS: Take a pencil and hold it out horizontally in front of your face at eye level. That’s the horizon line when you are looking straight ahead. Now alternate saying out loud: “Worm’s eye view” and “Bird’s eye view” as you shift the pencil in the oposite direction of your gaze. The more you repeat this exercise, the more you’ll automatically remember where to put the horizon line in your scene.
USE PERSPECTIVE GRIDS
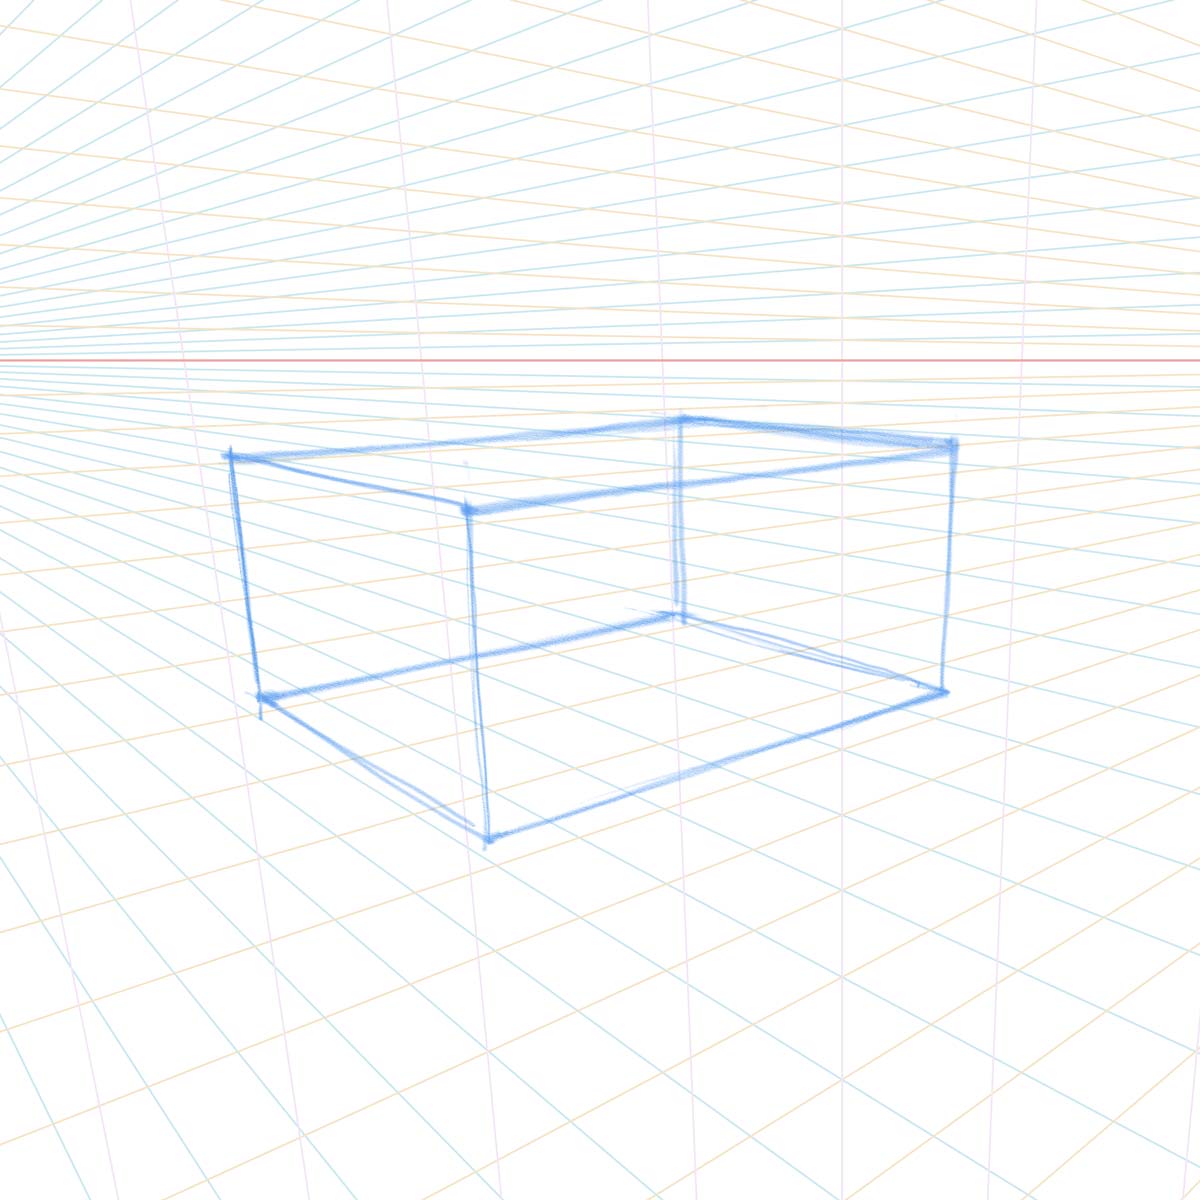
Drawing over a grid will get your brain in the right frame of mind to draw shapes in the correct perspective. You’re not making building blueprints, so there’s no need to be “computer accurate”, but the grid will force your brain to think about spacial relationships as you sketch. Learning how to draw your own grids from scratch is a crucial exercise. But when you need a more robust grid (or you need many variations quickly), starting with a pre-made template can help.
Use my free Interactive Perspective Grid web app to quickly explore angles. Then print out or take a screenshot to place under your sketch.
FILL IN THE GAPS
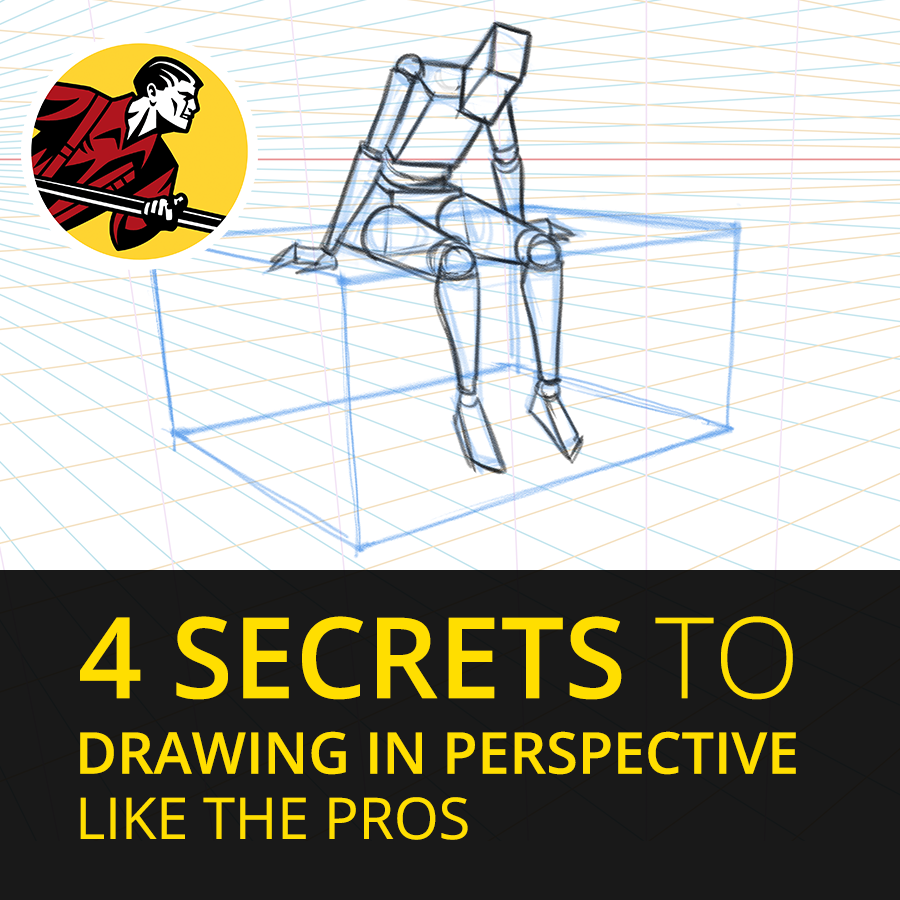
Most artists have a basic understanging of things like the horizon line and vanishing points. However, there often remain a few missing pieces that make artists feel like they aren’t in control of perspective. I highly recommend my one-hour lesson called 4 Secrets to Drawing In Perspective Like the Pros, available at Gumroad, Skillshare (Get 2 free months of Premium Membership with this link), or Cubebrush.
You’ll get 1 hour of instruction and a 40 minute demo describing 3 important exercises that will kickstart your perspective skills. As a bonus, if you are a Clip Studio Paint user (which I highly recommend you become), you’ll learn how to master Clip Studio’s incredible perspective ruler. If you’ve never seen it before, you won’t be disappointed (I haven’t seen any other tool like it).
“The most usable, practical explanation of perspective I have seen. A few simple rules instead of tons of theory, and you can start drawing in perspective.”
Markus Miklas, Skillshare review
“Reuben Lara is as excellent a teacher as he is an illustrator. This course is fantastic. It is relatively short for the subject and it includes plenty of real-world examples and clear explanations of the often mystifying subject of perspective. His own perspective tool and use of Clip Paint Studio shows how quickly accessible perspective can be accomplished in your artwork. I highly recommend this lesson. Don’t wait to dive in!”
Shawn Encarnacion, Skillshare review
Over the next two weeks, do each of these exercises on separate days. They don’t have to be in order, just as long as you do all four within each week.
| D | Do your best to duplicate one or more of the images suggested below by just looking at it, using the four techniques for duplication.
| |
| I | Without looking at any reference, try to invent your own shapes. They will come out looking really bad at first, but don’t be discouraged and don’t throw them away! This will stretch your brain’s recall of what you’ve been studying. Keep early drawings so you can see progress later on.
| |
| E | Invest in more online perspective lessons using some of the links below | |
| T | Trace one or more images, using one of the searches below:
|


READY TO LEVEL UP?
Check out these great tutorials from seasoned professionals.
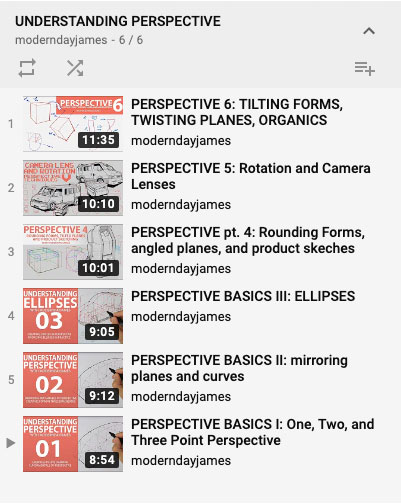
Understanding Perspective (Free)
Put your math hat on, James goes down the rabbit hole and it’s awesome.
Intro to Mech Design ($3.50)
John J. Park is a world renowned concept artist who works with major film and game studios. His methods and approach fit right into professional workflows, and is always a pleasure to learn from.
Will Weston Drawing for Composition ($285)
A recorded version of a 6-week course that teaches important methods for laying out spaces and drawing from reference. Definitely worth the investment, highly recommended!
Interior Layout Design with Charles Lin ($10)
- 2 hour 45 min Video Lecture & Demo
- JPG Demo & Notes
Sketching for Environment: Environmental Foundation ($10)
- 1 hour 30 min Video Lecture & Demo
- JPG Demo & Notes
Imaginative Sketching: Generating & Modifying Primitive Forms w/ ModernDayJames ($10)
- 1 hour Video Lecture & Demo
- JPG Demo & Notes
Understanding Lens Types ($10)
- 1 hour 10 min Video Lecture & Demo
- JPG Demo & Notes
You’ve got some
work to do!
This is the single most important stage of your drawing career! It’s a lot of work, and at the beginning it’s overwhelming and you just want to move on to the fun stuff. But don’t give up! Push through and master it. Once you get through the initial brain freeze, creating forms from thin air can be super fun. Most importantly, it’s confidence building, because consistenly creating believable forms won’t be accidental but intentional. Your future self will thank you!
Help keep art education affordable
Creating art is something everyone should be able to learn and enjoy. Through my YouTube channel, I love providing free training for kids and young, talented people who are hungry for learning but may not have the means or parental support to pay for art education. But, producing clear, helpful video tutorials and other online content takes time and effort! If you’re an adult who has benefitted from my free training and would like to support my efforts, please donate! Your contribution is much appreciated and helps keep valuable technical training accessible and within reach.

