AN INTRODUCTION TO
ANATOMY
Anatomy can be the most difficult, but also the most satisfying, skill to learn as an artist. Even if you’re an anatomy expert, starting with simple shapes is the key to inventing complex poses.
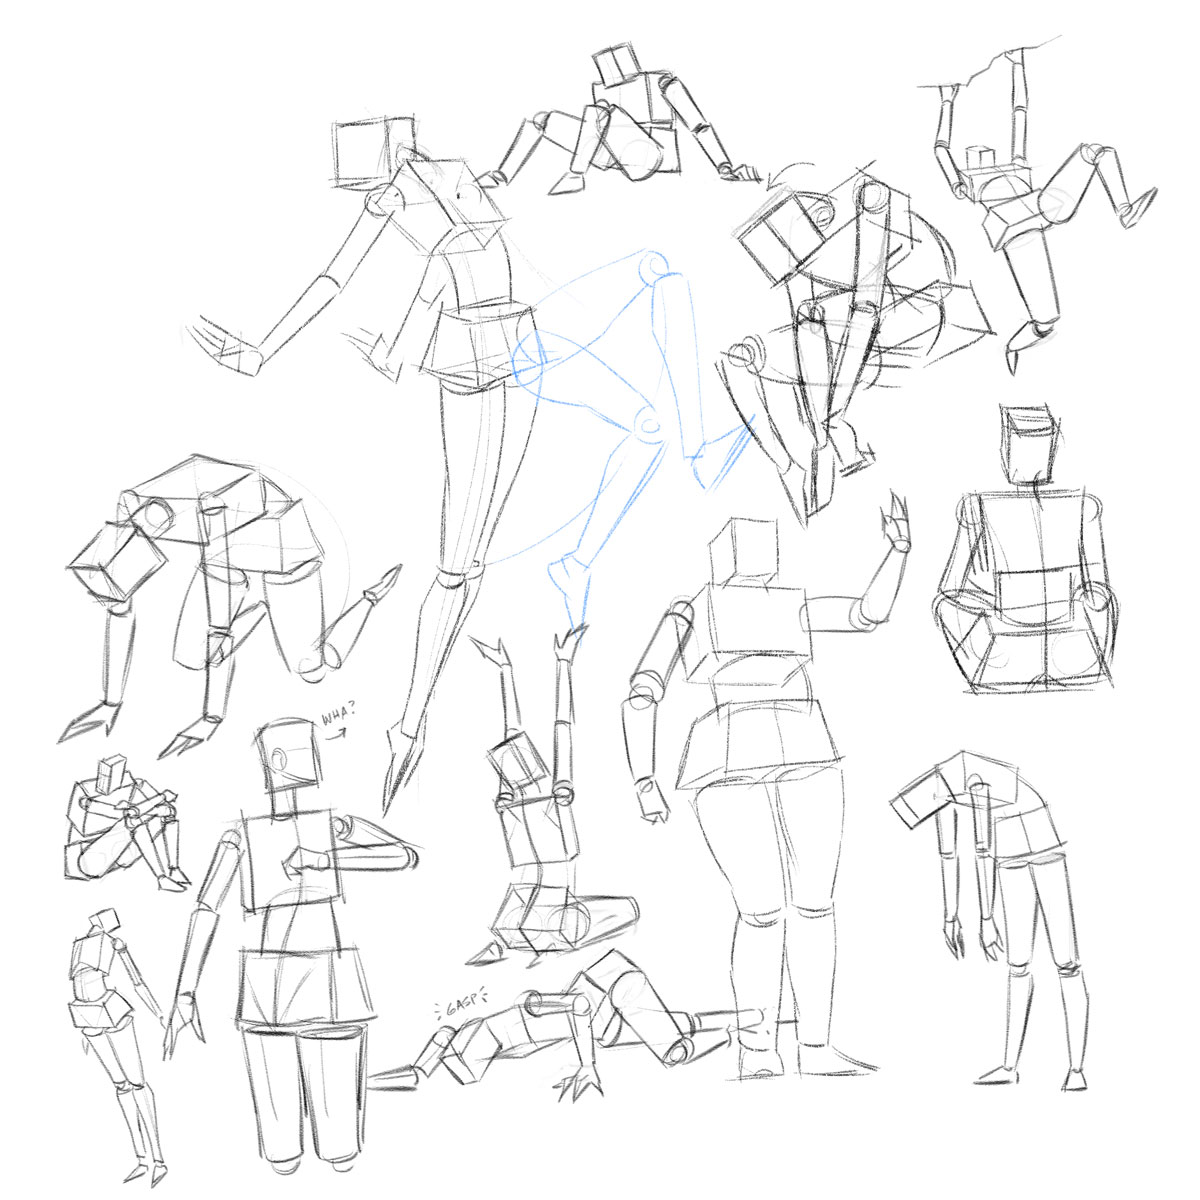
Safe for Work | Safe for Kids One of my primary goals is to provide artists with learning materials they feel comfortable viewing at work or around their families. At some point you’ll need to level up to a formal study of the nude figure. But until then, a huge amount of foundational learning doesn’t require complete nudity. In this section, I’ve set the bar at “anything you would see at the Olympics on TV”. That means a fair amount of skin, skin-tight sportswear, leotards, dancers, gymnasts and athletes making crazy faces. In any case, developing a healthy and respectful appreciation for the human body makes drawing it both a joy and a privilege.
Every parent should decide when clinical or artistic nudity is appropriate for their children. Although I never recommend resources with suggestive nudity, violence, or occult themes, I do expect parents to review all content beforehand.

FIRST, LEARN
PERSPECTIVE BASICS!
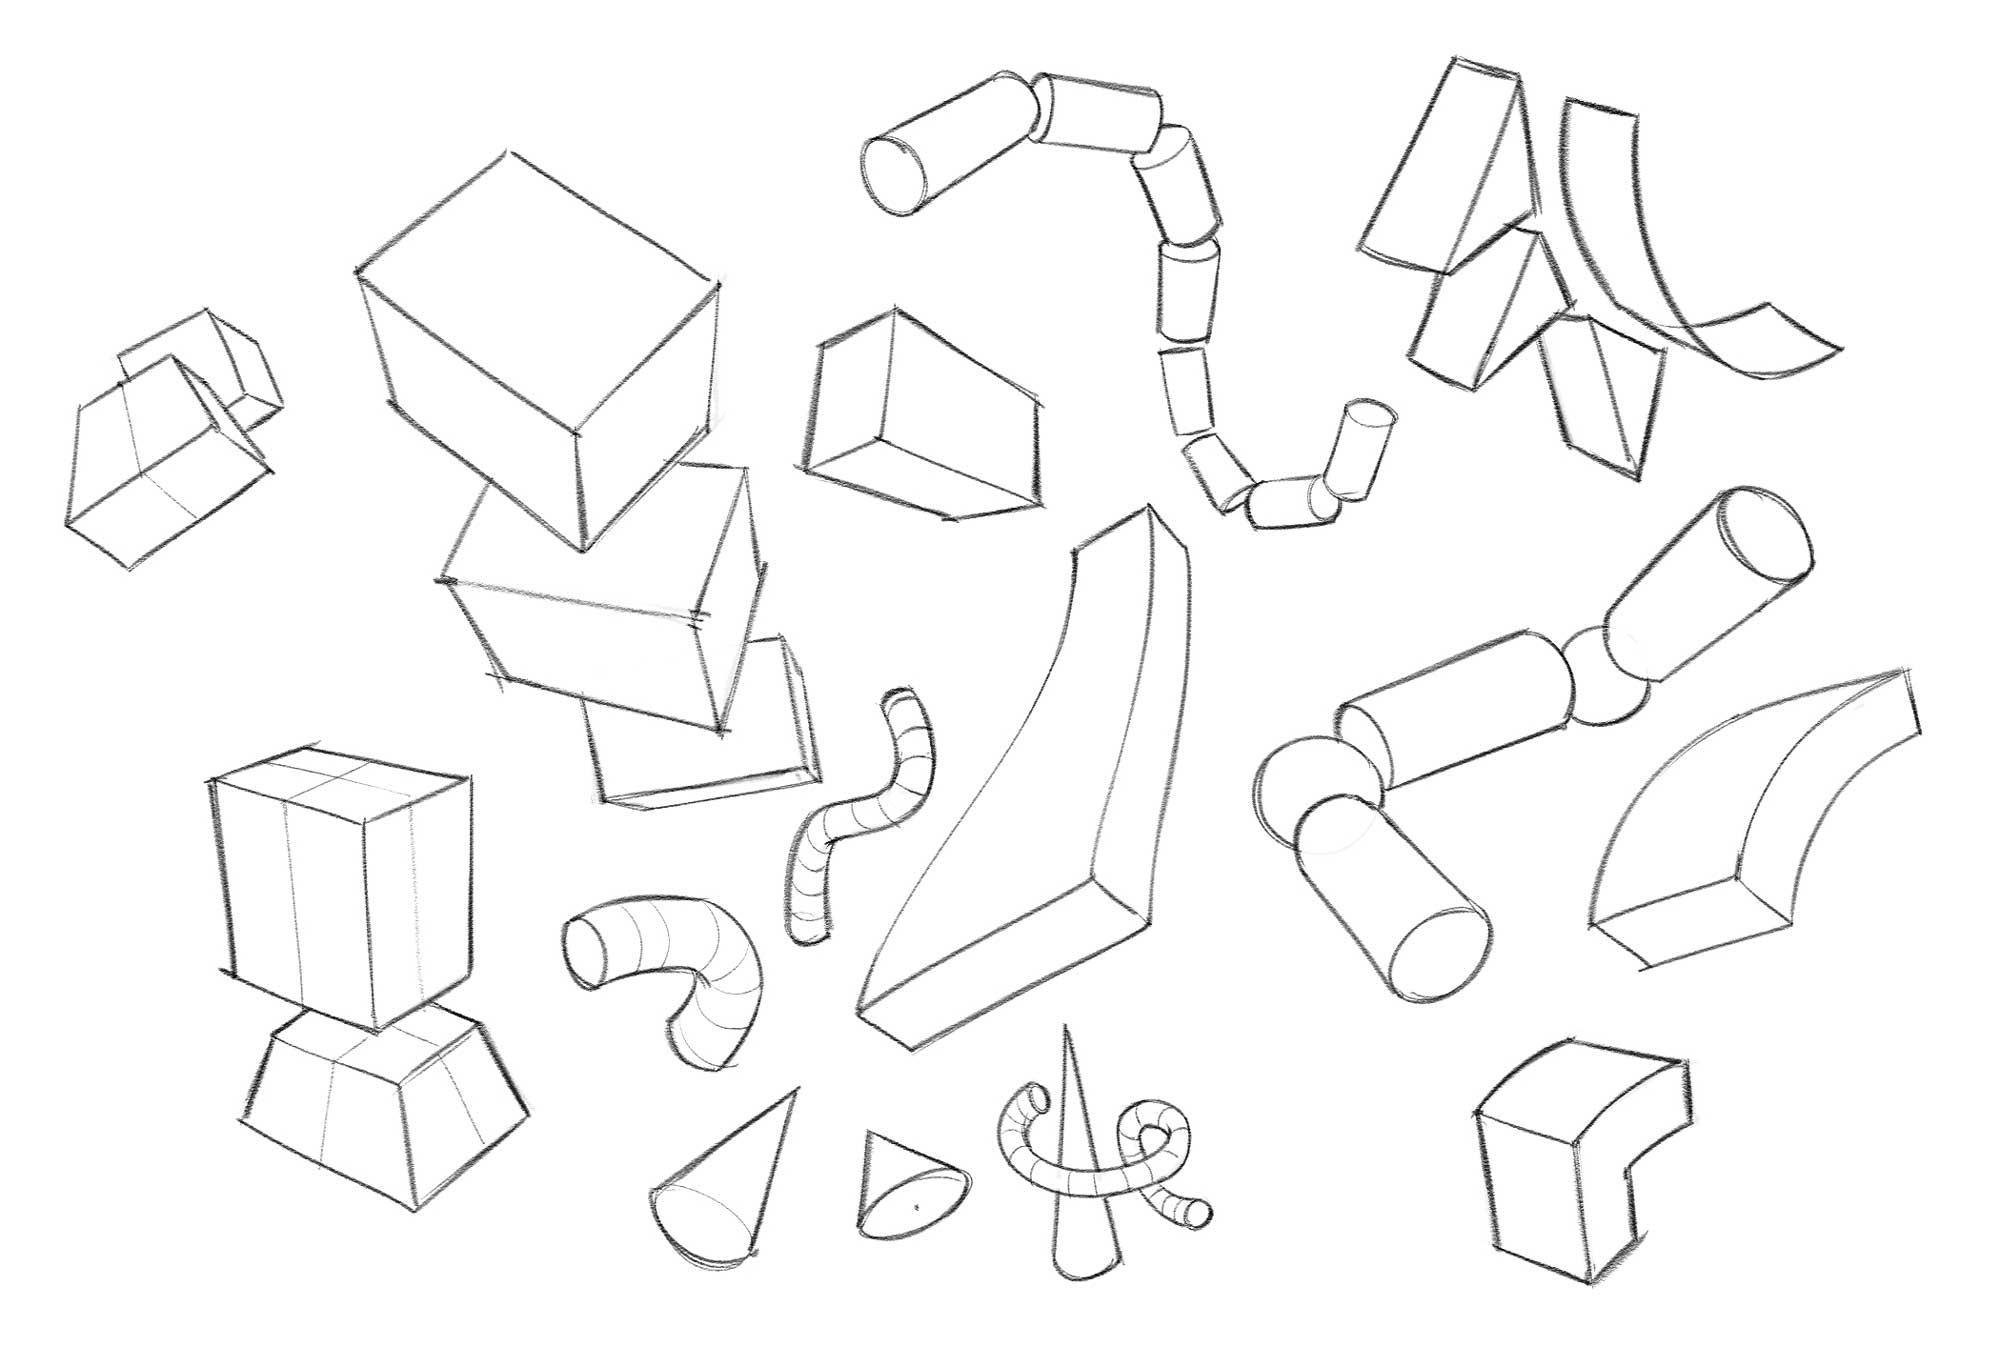
Before moving forward, make sure you’ve clearly understood all the concepts in the Perspective section. If you can’t accurately tumble a series of cubes in 3D space, you definitely won’t enjoy building anatomical structures. When you learn to tumble primitives, you’ll unlock unlimited creative freedom and have way more fun drawing people. You should be comfortable creating many pages that look like this:
AND NOW… MANNEQUINIZATION!
If you hop on YouTube, you may be overwhelmed with how many anatomy tutorials exist. That’s because there is no single official method for drawing people! In fact, seasoned artists will often use various construction methods within one illustration, depending on the angle and pose of each figure. What doesn’t change, though, are the basic rules of perspective.
Mannequinization is the process of stripping away all the contoured details of a form until it is made up of primitive shapes. These create “cages” that are easy to rotate, translate and scale until the major pose is decided. Then, any amount of detail can be layered in as needed.
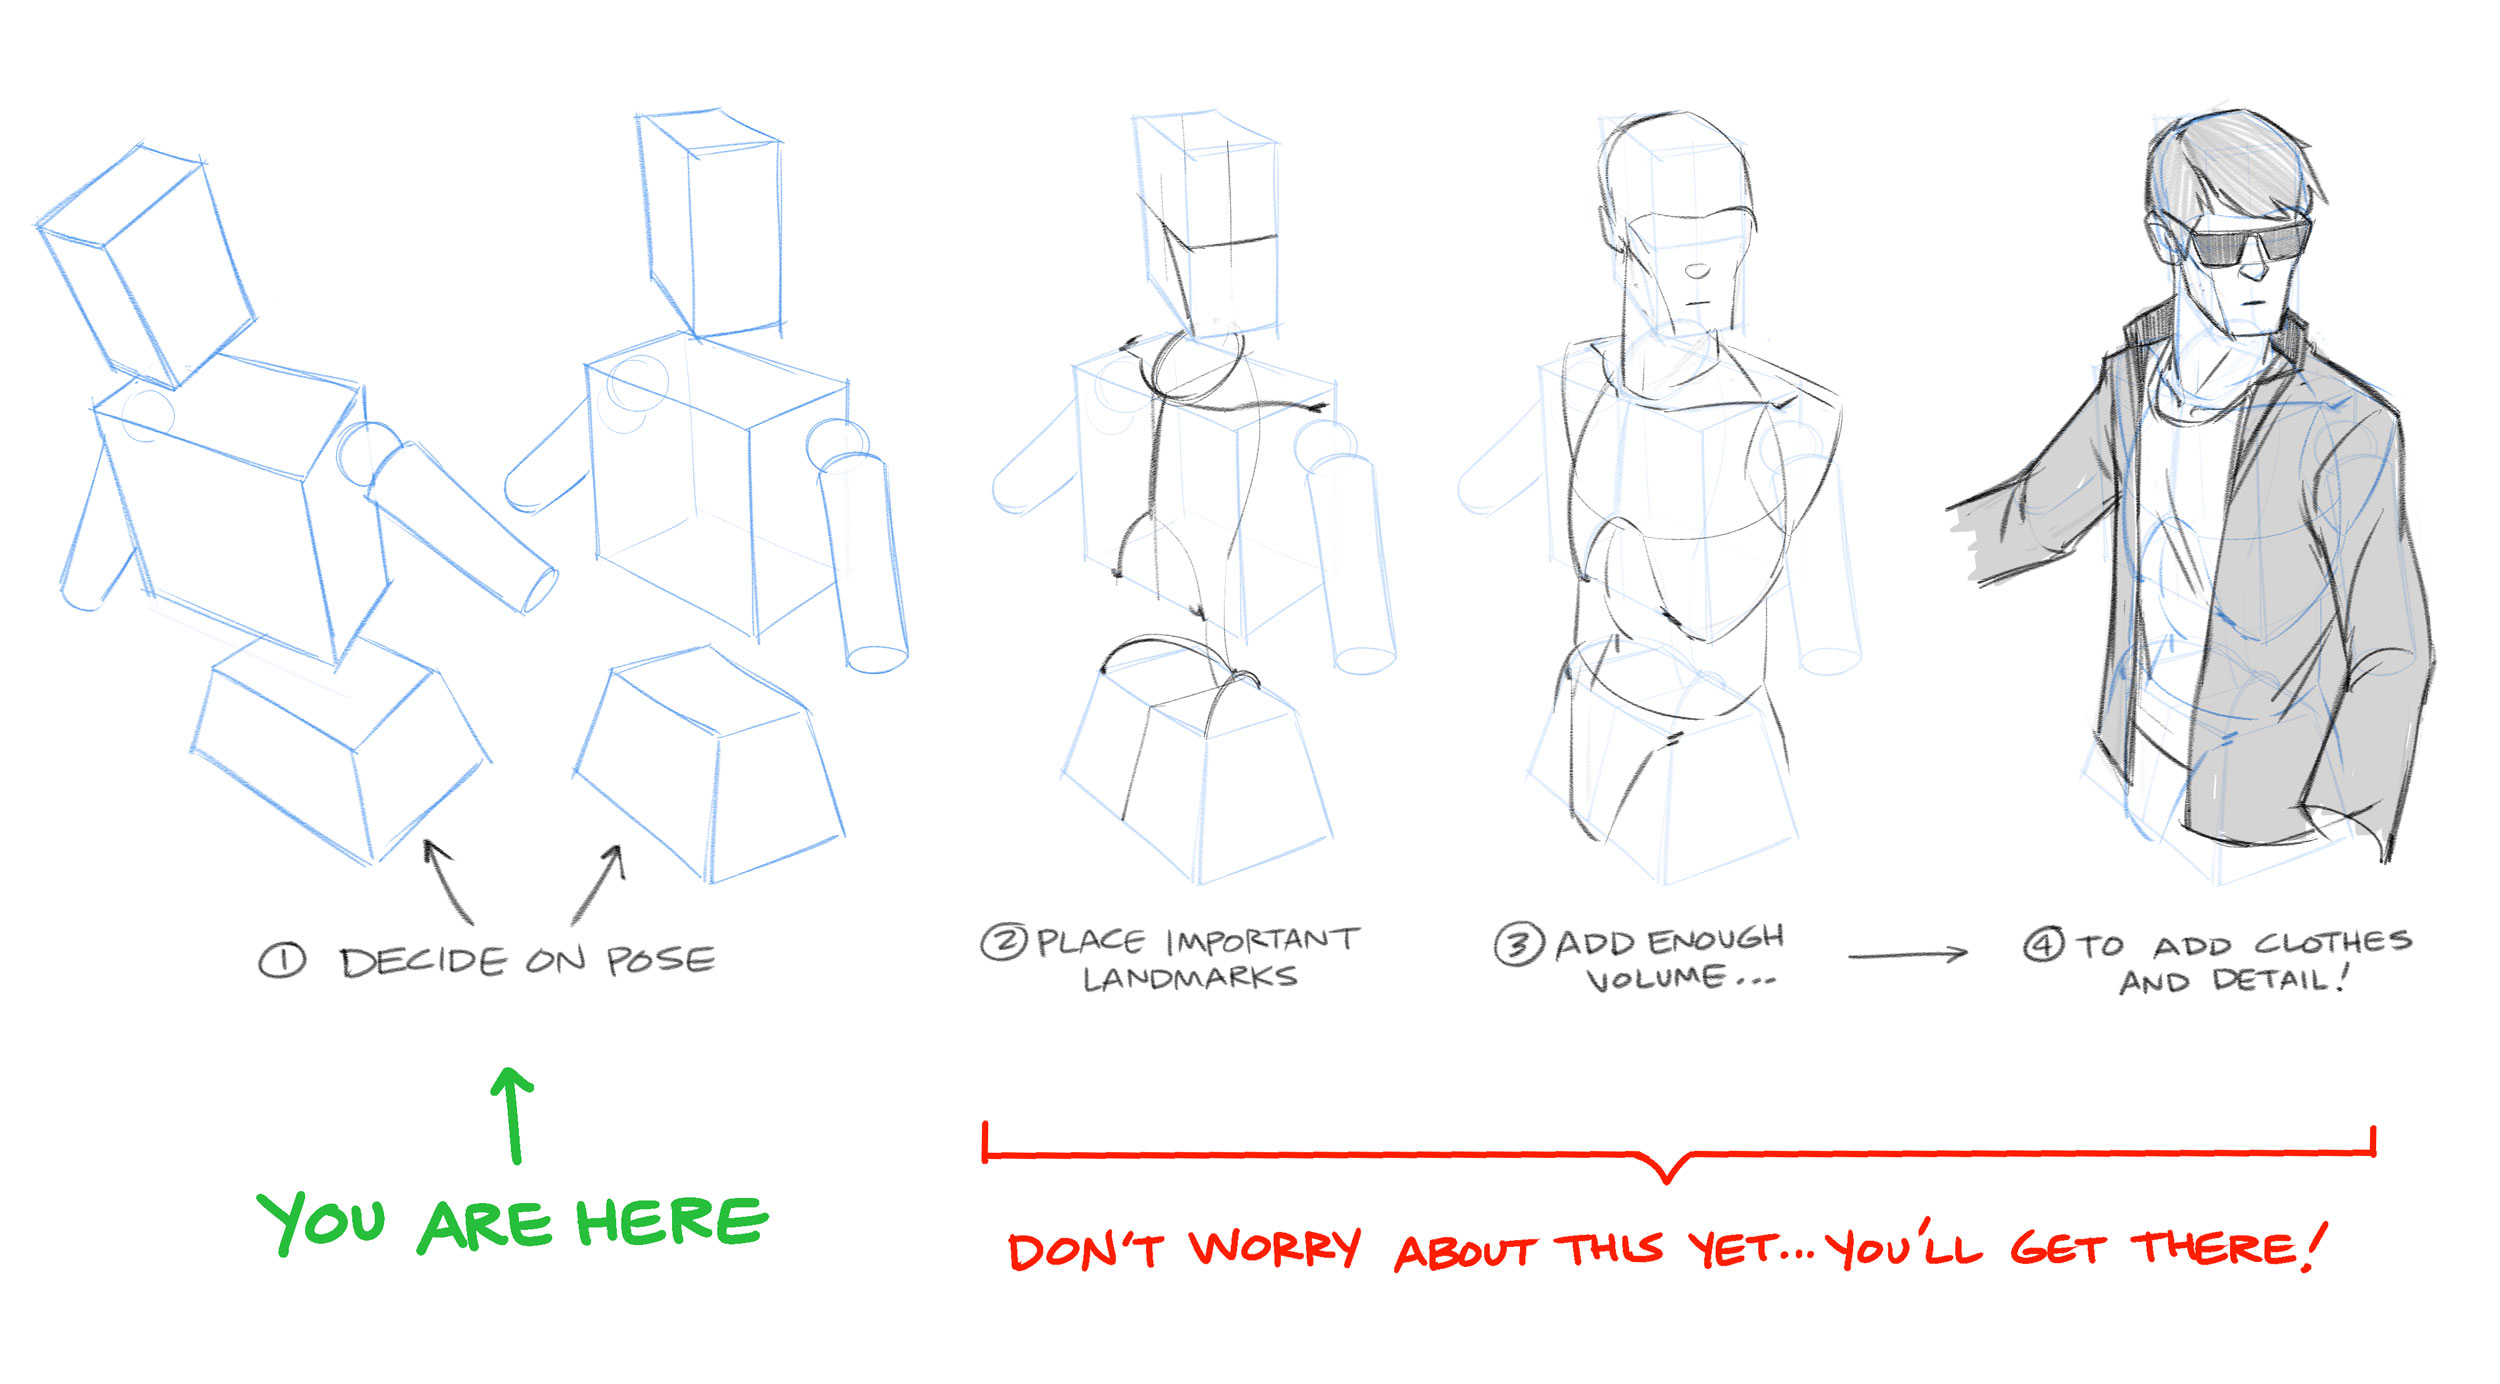
Of course, at some point, a reasonable amount of anatomical knowledge is necessary to complete the figure. The human body is an amazing and incredibly complex piece of design work, and learning anatomical structures can be a long and tedious field of study. That’s why you should consider taking things one step at a time. First, learn to create figures using boxes and cylinders. While you’re learning to do that, spend a bit of time each week watching videos that describe skeletal and muscular anatomy. But don’t stress out about remembering the name of every bone and tendon. Take notes when you feel like it. But watch as often and as much as you can from at least three or four different instructors (I’ll be providing some helpful links below and in the next section). You’ll soon reach a point where your technical knowledge of anatomy will converge with your ability to create boxy mannequins, and soon you’ll be inventing any twisty and bendy figure you can dream up. In the meantime, you’ll be surprised at how much story you can tell with simple primitive shapes.
“But, but, but…what’s the best mannequin to use??”
That is totally up to you. There are many variations, so learn from different teachers and use the one that makes the most sense to you. The mannequin should be a helpful guide, not another complex thing to memorize. Here’s one that I teach and use. I like it because it just uses cubes, cylinders and is easy to understand. Click on the 3D viewer below to tumble around the animation. You can play, pause and scrub to various parts of the motion. On the bottom left corner you can also set the playback speed for super slow motion action.
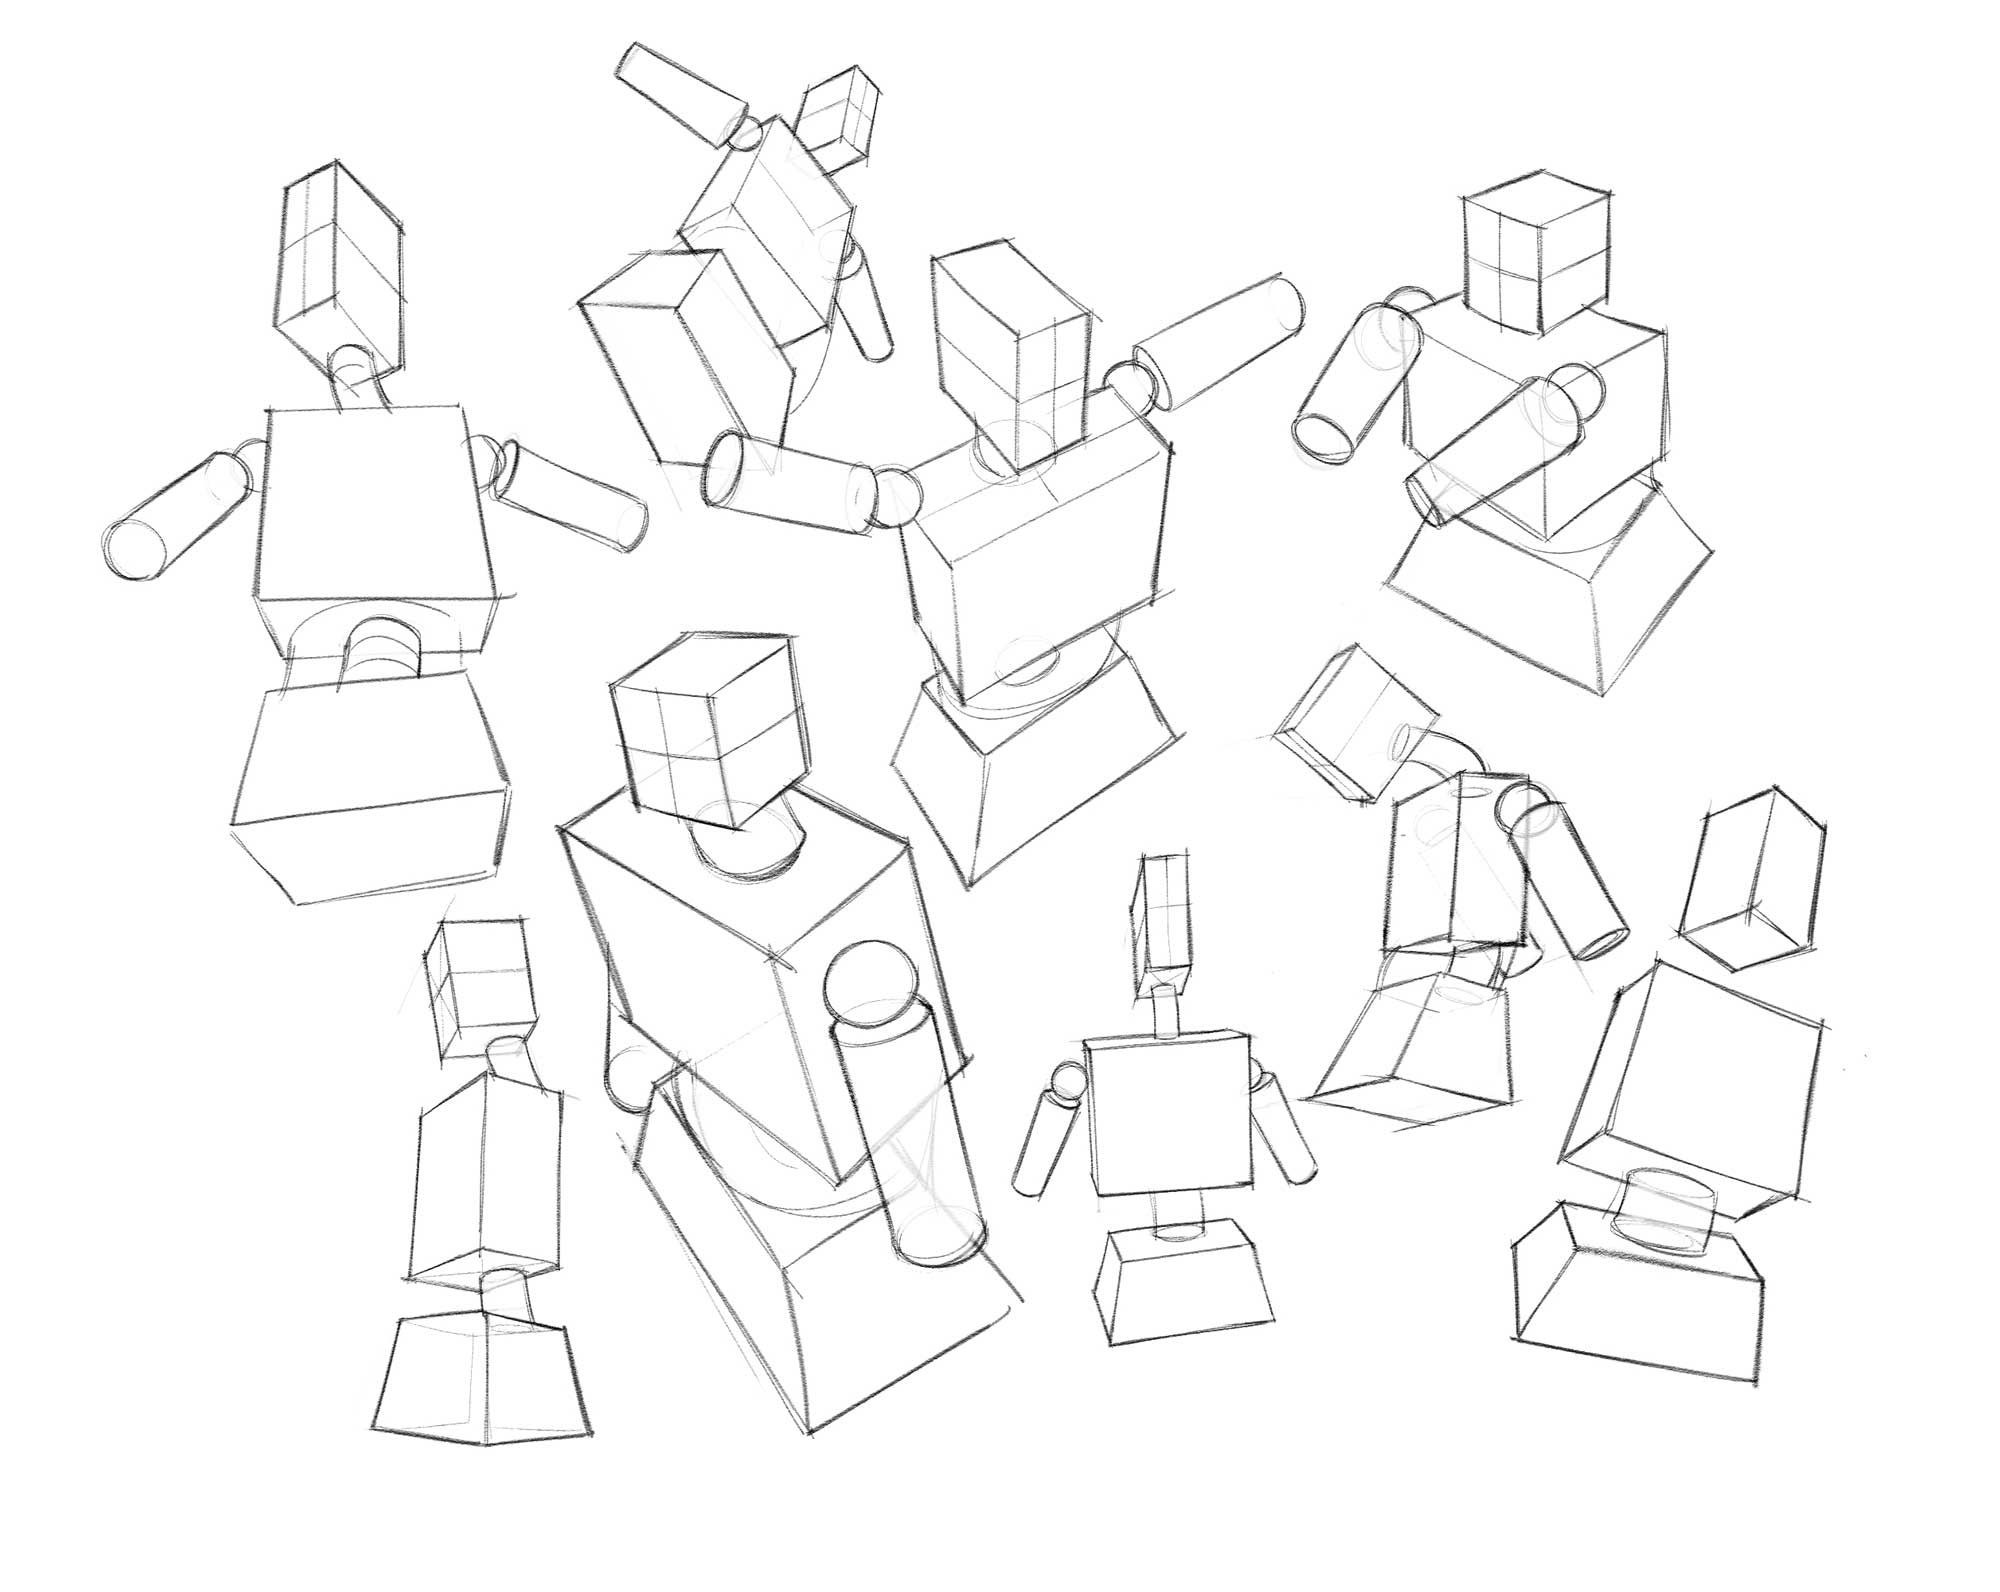
Spend a few days recreating this simple mannequin. And if the limbs are too much for you right now, just do the head neck, torso and pelvis. Start simple and build up to complexity. Also, remember that the mannequin is just a guide to proportion and perspective. People come in all shapes and sizes. You’d be amazed at how much variety there is in each and every skeleton, and proportions are all over the board. What doesn’t change is the basic structure of anatomical volumes and how they move in relation to each other. Before you move on to the next step of adding bony landmarks, spend at least two weeks exploring and drawing the simple mannequin. Do at least one full page per day until you’re comfortable and having fun with this exercise. Here’s what a regular exercise should look like:
If you’re struggling to understand and execute this exercise and haven’t taken Matt Kohr’s course I recommend in the Perspective section, please do so! Also, do the “Easy” D.I.E.T. exercises described at the bottom of the Perspective section using photos of toy block sets. Duplicating and Tracing these photos will kickstart your brain toward understanding how primitive shapes look at various angles.
Over the next two weeks, do each of these exercises on separate days. They don’t have to be in order, just as long as you do all four within each week.
| D | Open the 3D viewer of the Simplified Mannequin above and find an angle and pose you like. Do your best to duplicate it by just looking at it, using the four techniques for duplication. |
| I | Without looking at any reference, try to invent your own poses. They will come out looking really bad at first, but don’t be discouraged and don’t throw them away! This will stretch your brain’s recall of what you’ve been studying. Keep early drawings so you can see progress later on. |
| E | Spend some time exploring the skeleton in the 3D viewer below. Click the bones for name labels. Also, download a mobile app that you can quickly study whenever you have a few free minutes during the day. Don’t worry about memorizing anything yet. This is just to start getting your brain used to the shapes. Online: Biodigital Human Studio (FREE) My favorite online viewer with lots of great interaction. Also available as a free app on iOS and Android iOS and Android: Skelly – Posable Art model (FREE) A simple skeleton viewer, but does not label bones Online: Zygote Body (FREE, premium subscription unlocks more camera movement) At the bottom of the toolbar on the left hand side, click the “?” for an explanation of the tools. If you click the toggle on the bottom you can turn off layers individually and just view the skeleton) |
| T | Open the 3D viewer of the Simplified Mannequin above and find various angles and poses you like. Take screenshots and trace them, focusing on finding each object’s vanishing points and thinking about how the primitives are rotating in 3D space. |
FREQUENTLY ASKED CONCERNS
“Starting with a mannequin makes my figure look stiff.”
Yes, it does. But around your 300th mannequin you’ll start to loosen up and your structures will start to be more dynamic and gestural. So get started, you only have around 290 to go.
“Worrying about perspective is too much work.”
You might consider abstract art.
“I don’t see my favorite comic book artists drawing mannequins, why should I?”
You may not see them drawing cages on the page, but they are absolutely envisioning them in their heads. In time, you’ll be going straight for the more complex, contoured forms, and only fall back on cubes and cylinders to get you out of jams like weird angles and complex foreshortening. But from this point forward, wheather you’re drawing a human or an apple, primitive shapes in perspective should be casting their critical eye on you!
“Learning anatomy is too much work.”
Ready? Ok then, down the rabbit hole…
Help keep art education affordable
Creating art is something everyone should be able to learn and enjoy. Through this website and my YouTube channel, I love providing free training for kids and young, talented people who are hungry for learning but may not have the means or parental support to pay for art education. But, producing clear, helpful video tutorials and other online content takes time and effort! If you’re an adult who has benefitted from my free training and would like to support my efforts, please donate! Your contribution is much appreciated and helps keep valuable technical training accessible and within reach.

